Seni Kertas Quilling - Panduan Lengkap untuk Bisnis dan DIY
The Ultimate Guide to Making 15+ Simple Quilling Shapes
November 25, 2015 By Erin Curet filed under Paper Crafts Blog .
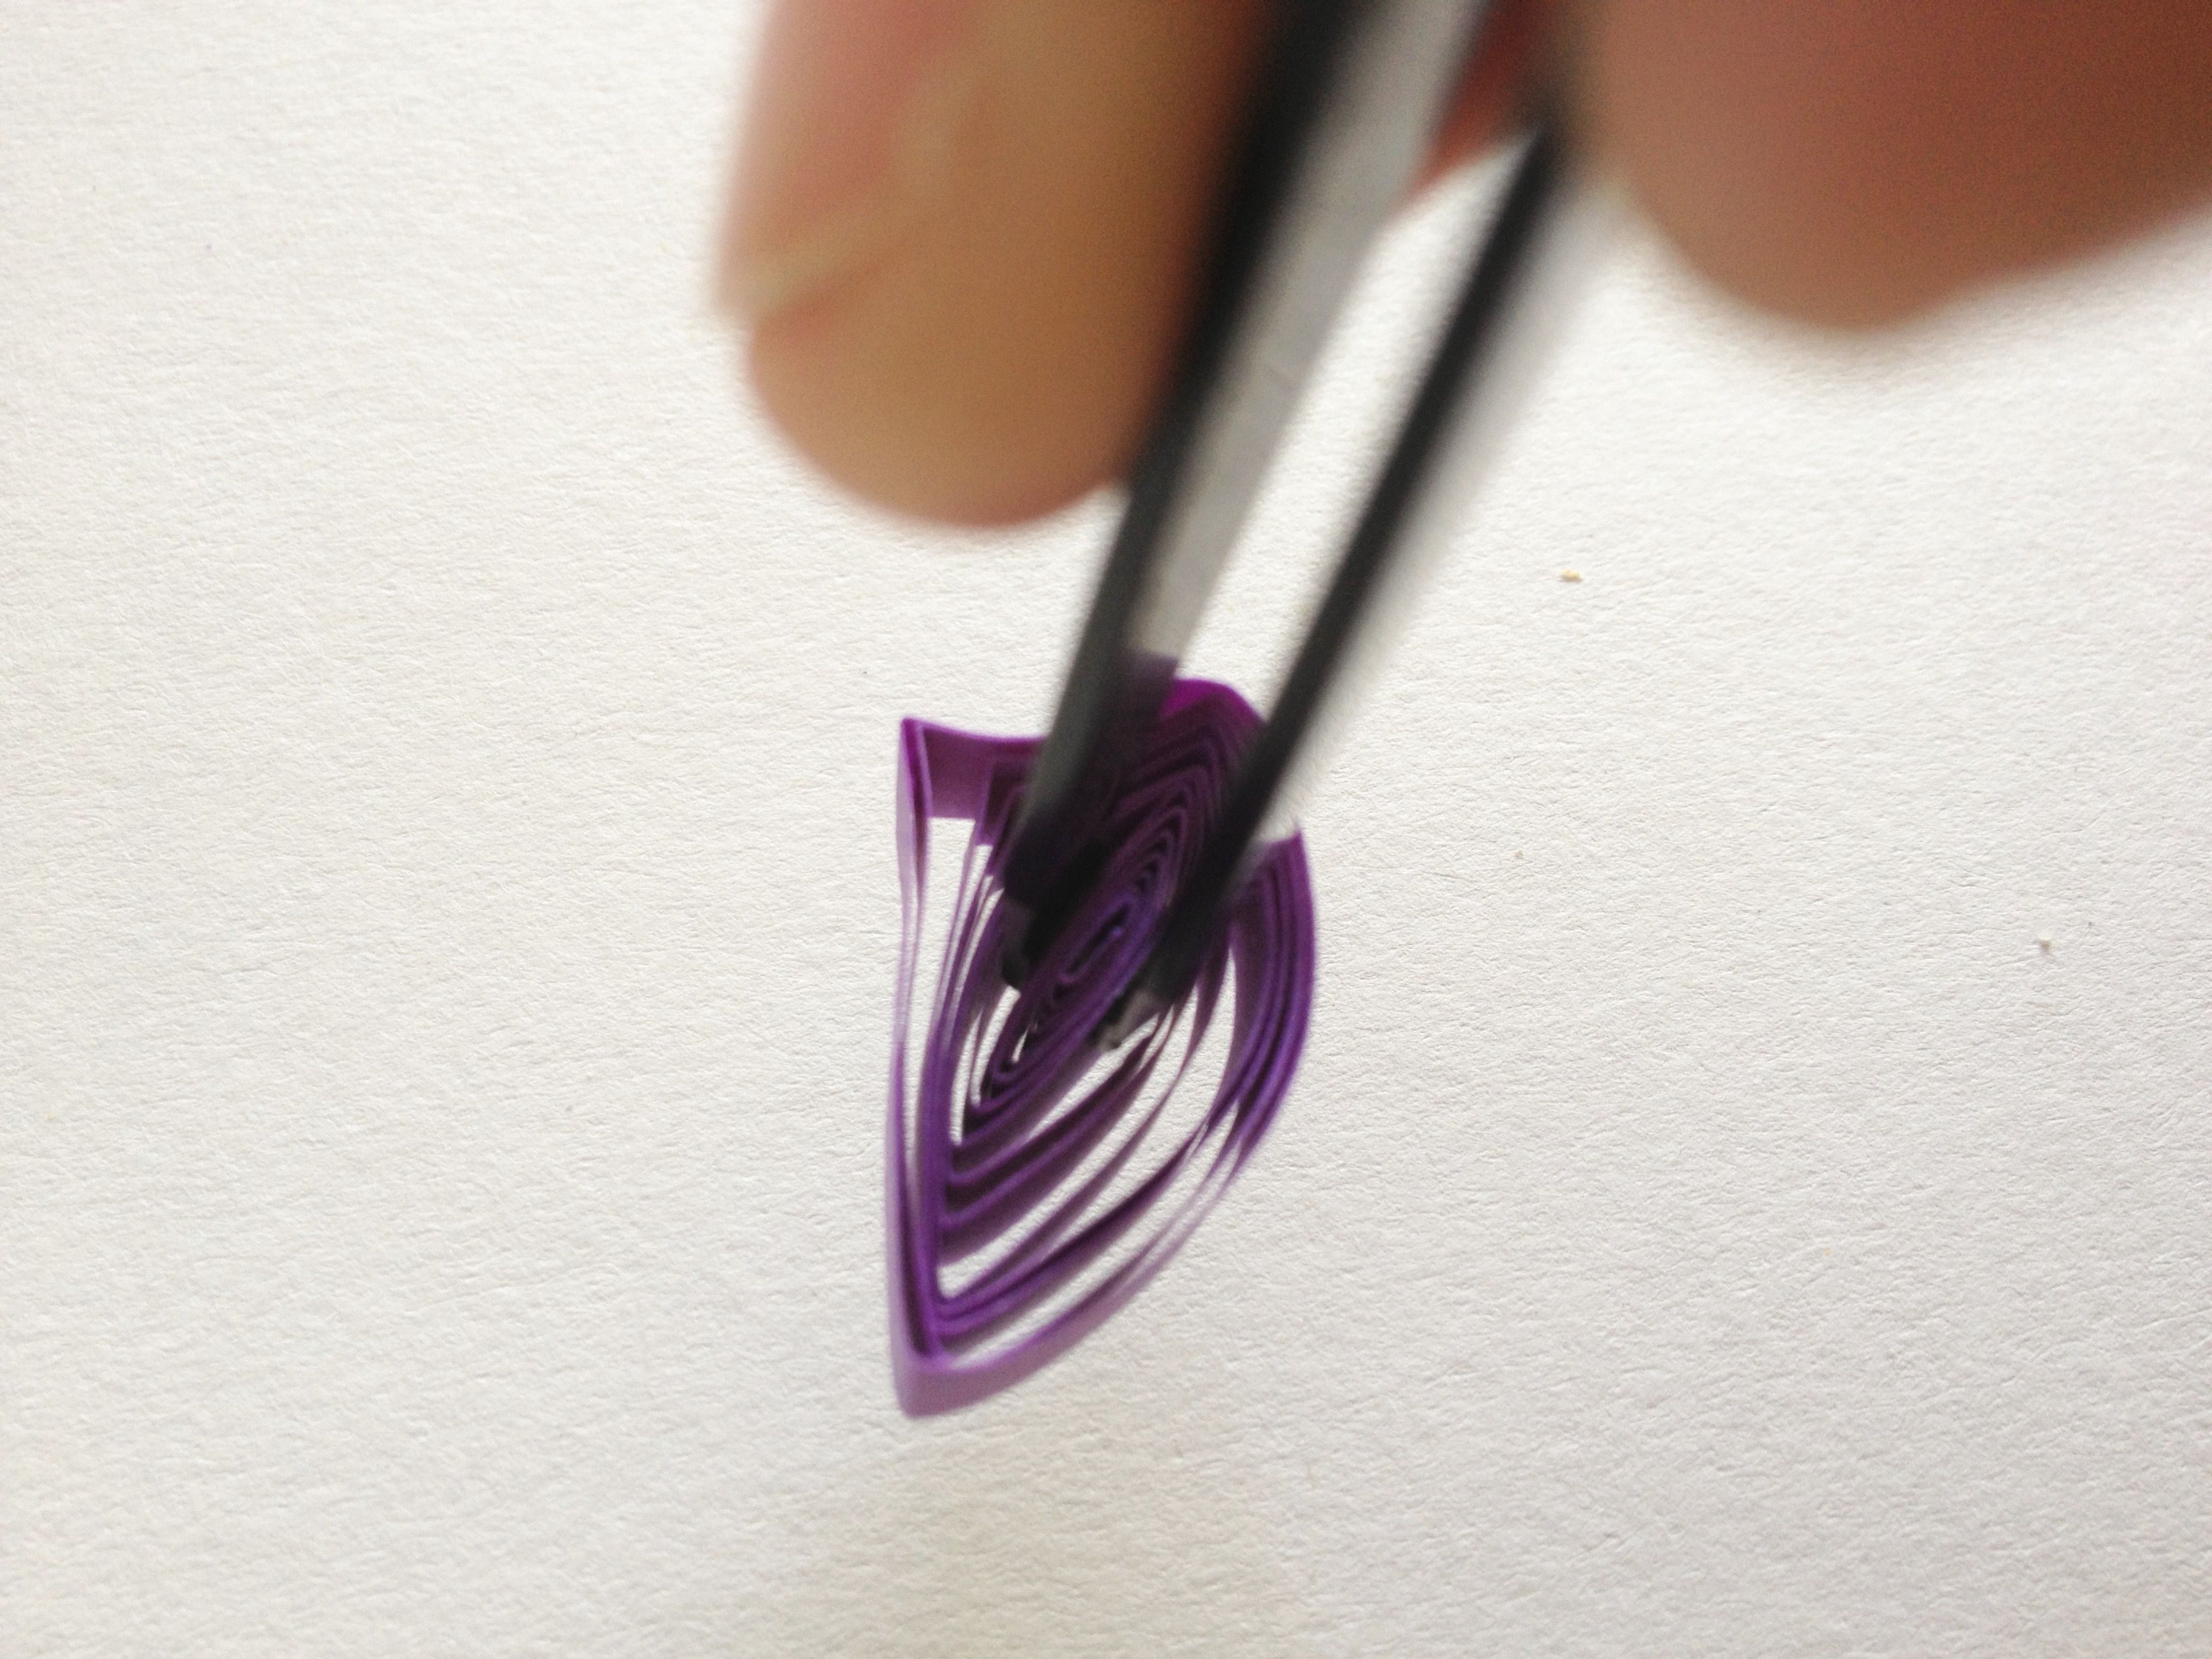
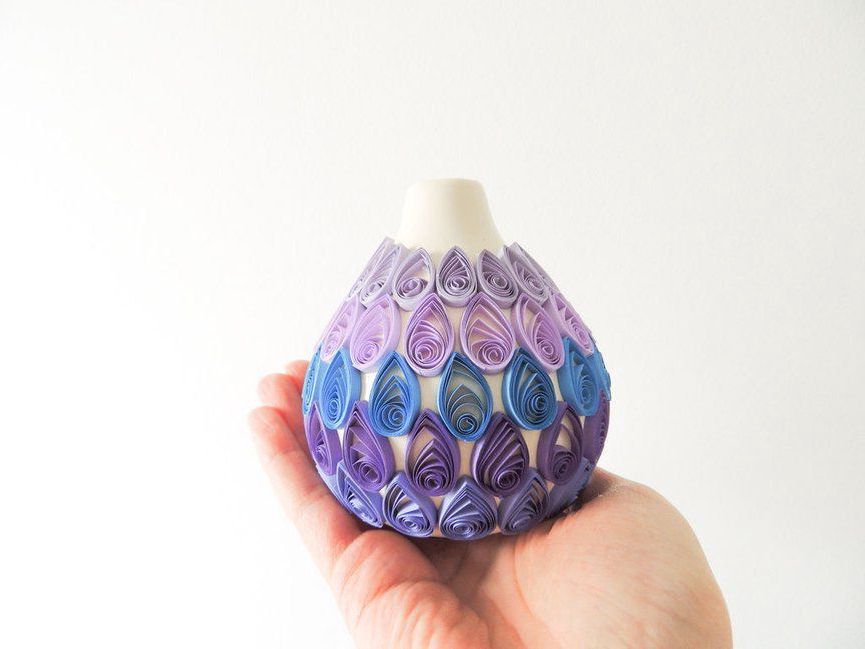
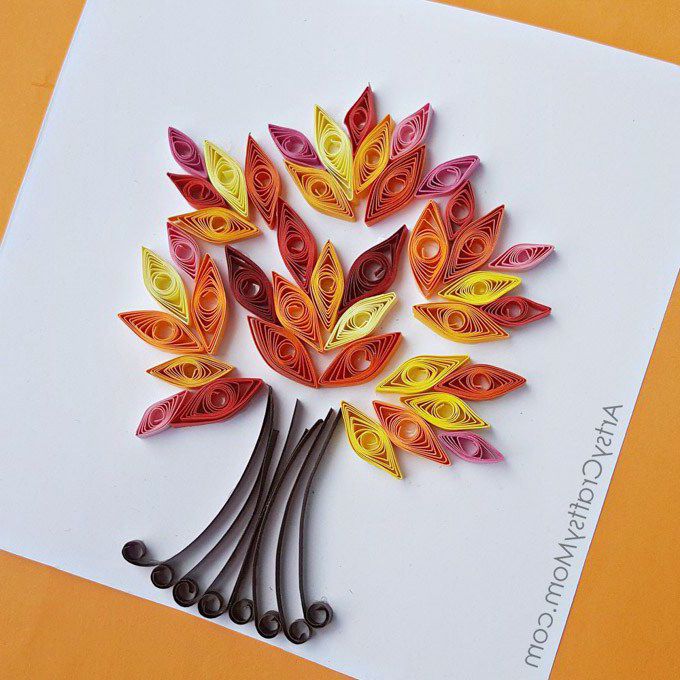
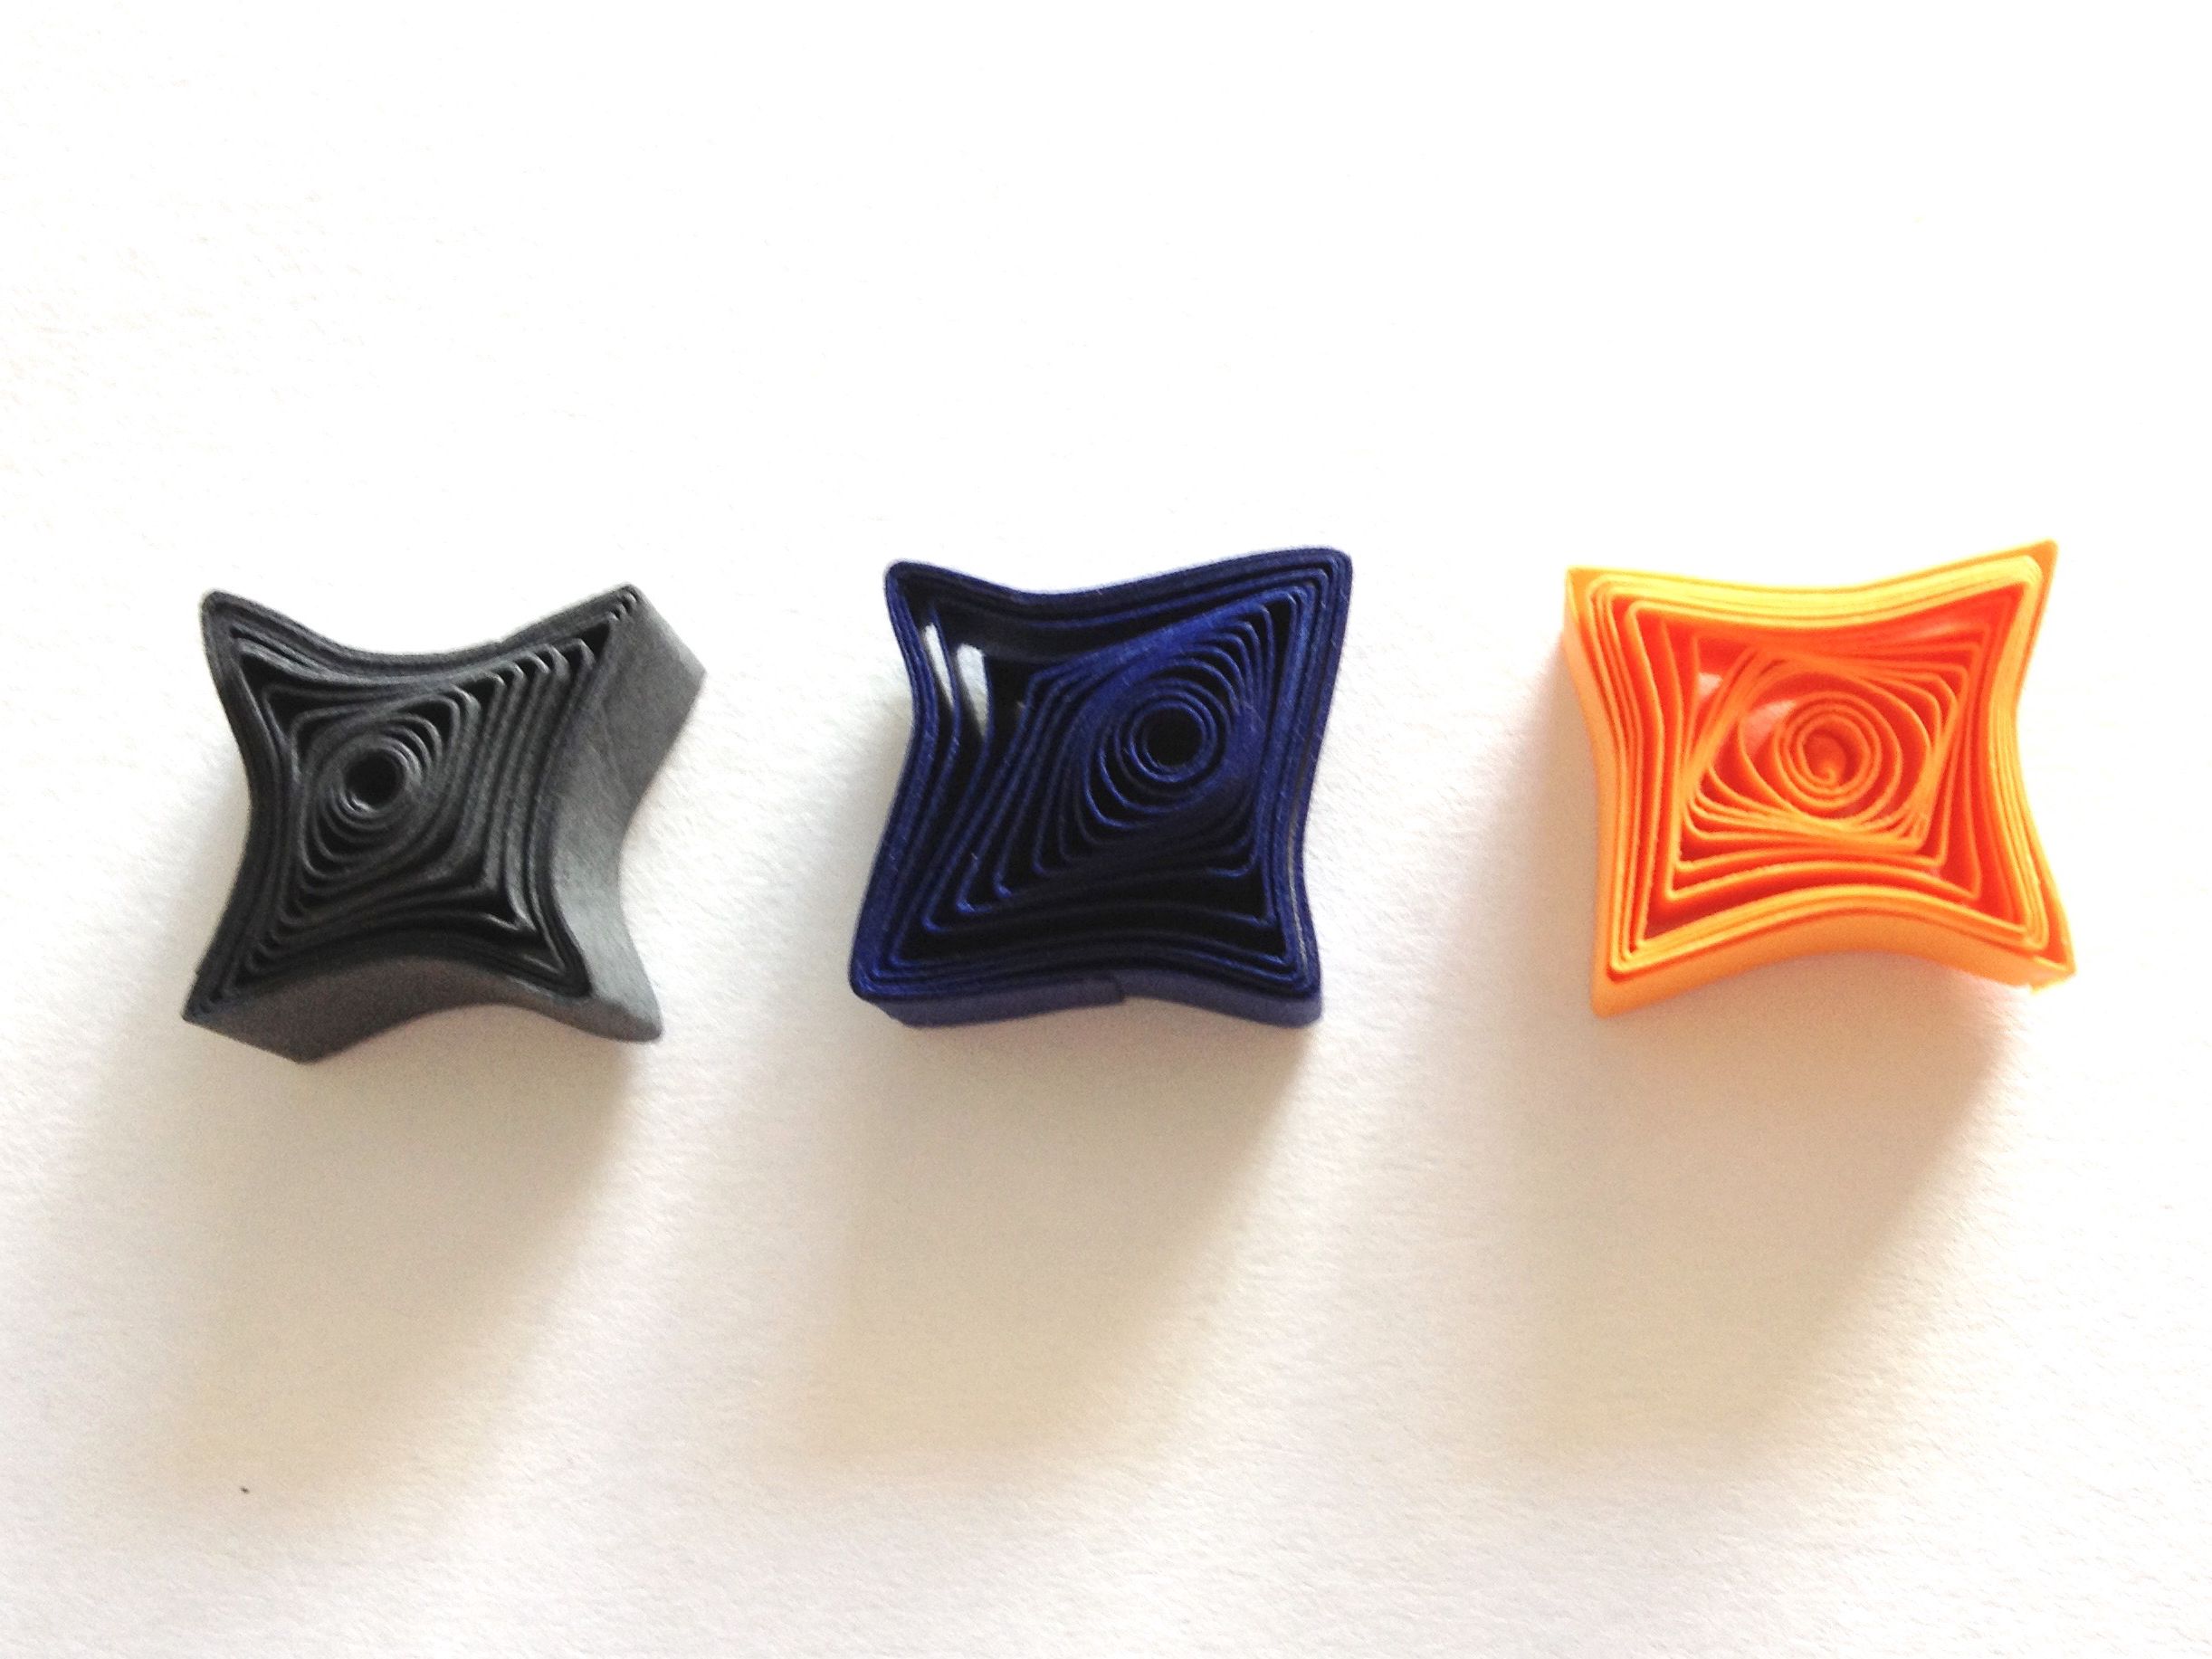
Paper quilling is an enjoyable way to create whimsical novelties or masterful works of art. You can quickly roll up a greeting card or spend hundreds of hours manipulating pieces of paper into intricate paper mosaics or sculpture. How you use the craft and what you make is really up to you and how much time you want to spend (and perhaps how much patience you have), but the overall concept always begins with the same thing: rolled paper shapes. Continue reading to learn more about how to make some simple quilling shapes.
Images via Little Circles
Learn Paper Quilling: A Beginner's Guide
Embarking on your journey to learn paper quilling can be exciting and daunting—but fear not, our beginner guide is here to help you navigate this intricate art form. Just like a seed sprouting into a beautiful flower, your quilling skills will bloom with practice, patience, and passion.
Imagine holding a simple strip of paper, rolling it into a coil, and transforming it into a stunning piece of art. This is the essence of paper quilling. It's about seeing potential in the ordinary, about turning simplicity into complexity. And with our free quilling patterns, you'll have a roadmap to guide you on this creative journey.
But how do you start? First, familiarize yourself with the basic shapes and techniques of quilling. These are the building blocks of your quilled designs, from tight coils and loose scrolls to marquise and teardrop shapes.
Next, download our quilling designs. These patterns are more than just guides, they are a source of inspiration, a way to spark your creativity. As you follow these designs, you'll see how the basic shapes come together to form intricate patterns and stunning visuals.
Remember, every masterpiece starts with a single coil. So, don't be discouraged if your first few attempts don't appear as expected. The beauty of paper quilling lies in the process, in the joy of seeing a simple strip of paper transform into something extraordinary. And with each pattern you follow, each design you create, you're not just making art - you're improving your quilling skills.
So, are you ready to embark on this creative journey? To transform ordinary paper into extraordinary art? With our collection of free quilling patterns, your trip to learn paper quilling starts here. Let the magic of paper quilling captivate you, and watch as your skills blossom with each new creation.
Postingan populer dari blog ini
(Sumber gambar: promkes.kemkes.go.id) Puting payudara yang tertarik ke dalam atau retraksi puting banyak dikhawatirkan dapat menghambat keberhasilan Mama dalam menyusui. Namun jangan khawatir Ma, ada solusi yang bisa dilakukan untuk mengatasinya. Sebelumnya kita pahami dulu beberapa tipe retraksi puting: Grade 1 : puting flat /datar/rata, bisa muncul dengan menekan areola (daerah berwarna hitam di sekitar puting) dan masih dapat menyusui. Grade 2 : puting flat /datar/rata, bisa muncul dengan menekan areola namun puting kembali masuk ketika tekanan dilepas, ada kesulitan menyusui karena saluran ASI ikut tertarik ke dalam. Grade 3 : puting inverted /terbalik, tidak muncul dengan menekan bagian areola, tidak dapat menyusui karena saluran ASI menyempit sehingga butuh tindakan pembedahan. Bentuk Puting (Sumber: africanripples.com) Jika yang Mama alami adalah grade 1 atau 2 , maka Mama patut bersyukur karena tetap bisa menyusui. Yang perlu diingat, Mama tidak perlu menarik n
Paper Quilling for Beginners: 6 Tips & Tutorials
Paper Quilling for Beginners | HGTV Handmade
This video tutorial is super easy for anyone looking to get started with paper quilling. The Crafty Lumberjacks walk you through the steps to create a gorgeous art piece.
Quick Tips for Neater Quilling | The Papery Craftery
Tiny pieces of paper and glue can get frustrating and can also make a big mess. Avoid disaster and get the neat results you’re looking for with these handy quick tips.
35 Paper Quilling Shapes | HandiWorks
Who knew you could create so many different shapes? You’ll learn to make 35 different paper coil shapes that are designed for beginners.
Quick Tips for Neater Quilling | The Papery Craftery
This video goes over ways to make your paper quills a little bit neater, a little bit cleaner, and easier to work with.
Quilling Glue | 5 Basic Tips to Avoid Showing Glue | Paper Zen
Paper quilling involves a lot of glue, which can get messy very quickly. Keep your designs need with these five glue tips.
Tips for On-Edge Quilling | The Papery Craftery
You’ll learn how to make on-edge quilling to finish off your designs beautifully. It can be tricky at first, but this video will show you how to manage it easier.
Tags: paper quill bisnis